tie dye at home easy
Then dry the item on medium heat. Wrap another band a couple of centimetres lower down.
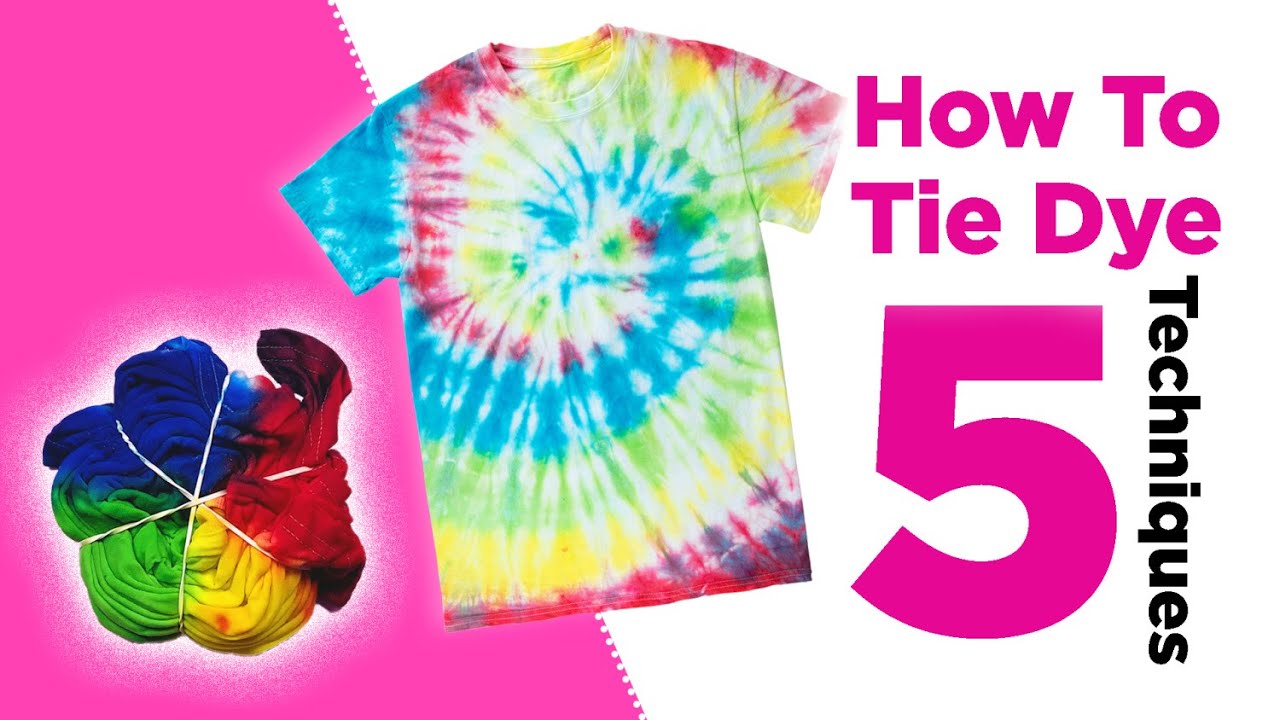
How To Tie Dye At Home Like A Pro Try These 5 Easy Techniques Youtube
- First lay your shirt out flat.
. First lay the shirt flat. Easy tips and tricks from Etsys Trend Expert on how to DIY tie-dye By Sarah Ball May 14 2020 0354 PM Each product we feature has been independently selected and reviewed by our editorial team. Tie off one end of your rope with a rubber band.
This is another great way to get that traditional tie-dye look without kits or rubber bands. For absolute beginners here are three simple ways to try out this DIY-trend at home. Scrunch or Crumple Tie Dye.
First wet the shirt and lay it flat. Fixing the dye. Once youve placed all your elastic bands on your t-shirt its time to get dying.
Then wrap them up together to set. With your fingers scrunch and wrinkle the fabric gathering it into a tight disk. Use a dust mask when mixing dye powders or using soda ash.
Wrap another rubber band two to three inches 508 to 762 centimeters down from the first one. Keep scrunching and folding gathering all of the fabric into a relatively flat tight disk. Put on your rubber gloves and choose a different dye for each section between rubber bands making sure the ink is fully absorbed through each layer of pleating.
Place two socks next to each other and place two straws on top. To create a diamond tie-dye pattern lay your tie-dye fabric on the table and fold it in half vertically. Then scrunch smaller sections of the fabric together randomly.
Try not to worry about the mess. To make a crumple tie dye aka scrunch or nebula design. Make sure everybody has fun.
Im going to start off showing you how to do a spiral pattern because thats the most dramatic and fun pattern to make. Wrap several rubber bands around the disk. Keep doing this until you reach the end of the rope.
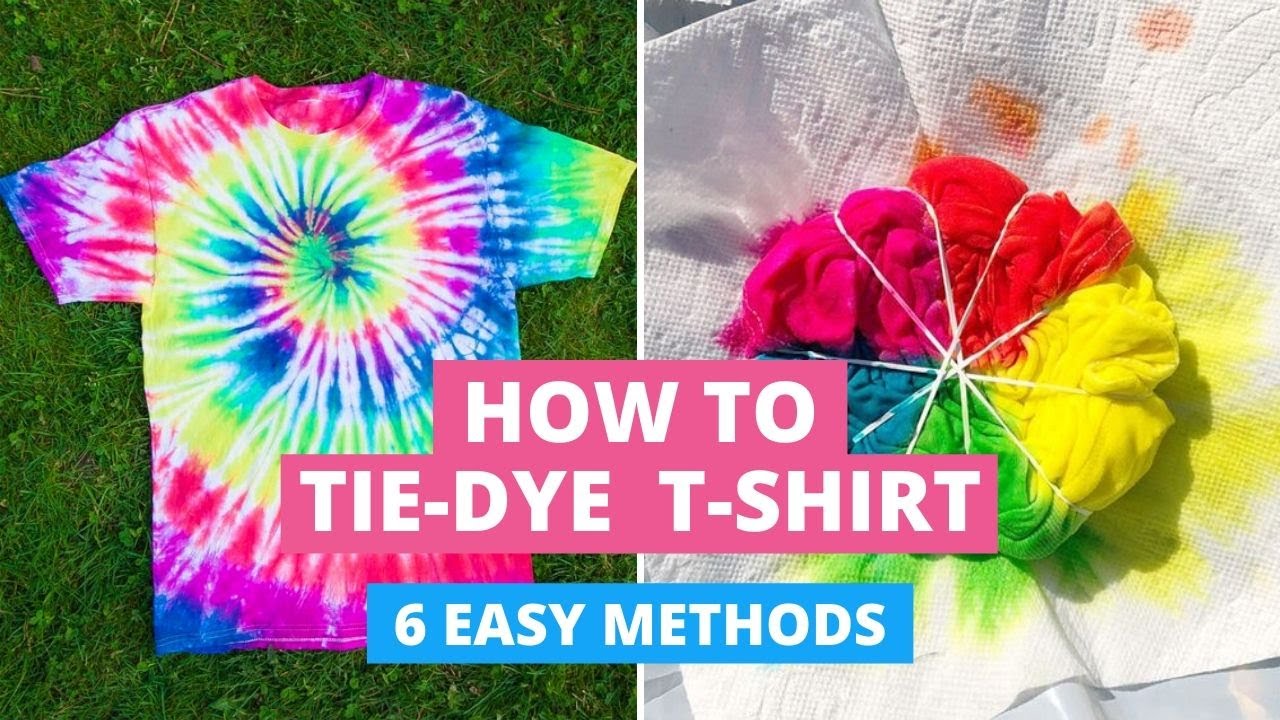
How to tie-dye t-shirts - 6 easy methods to try at home. Permanent Marker Color Bursts on Fabric. Next use a washable marker to draw a line from the center of the left side.
Now lets get to the actual dyeing. It should also be a little damp when you fold it and add the dyes. The dye eventually washes off the skin.
The Kitchen Table Classrooms Permanent Marker technique is so fun and it will give your kids more control over the finished design since theyll be drawing out their desired patterns. Choose the areas where you want the circle or bulls-eyes to appear. Keep putting the bands on until you have something that resembles a tied up sausage.
Afterward fold in half horizontally. Wrap the elastic bands around different areas of your t-shirt. Dye each section between the bands.
If youre impatient like myself its best to place whatever you dyed out of sight so as not to be tempted to wash them too early. Once your dye is applied the next and most difficult step is to wait 12 to 24 hours for the dye to fully soak in. Remember that the dye will bleed so if you dont want colours to blend together leave a bit of a gap between each one.
Because its just one color these are super quick and easy to make. So pour the fabric dye in a bucket at home along with some water and place your t-shirt in the dye so it can set. Then start folding the fabric along the line you made with the marker.
To create a sunburst pinch the middle of your shirt and pull it towards you. Mix the solution. Rinse each item with cool water in the sink if you have a utility sink its probably best to use it if youre tie dying larger items like towels.
Your shirt should be washed to remove any sizing if its brand new. Once the socks are rolled scrunch them up and wrap three or four. Continue rinsing and squeezing out the water until it becomes mostly clear.
Naomi Skwarna Once the 30 minutes is up mix one tablespoon of RIT Dye Fixative and Brightener in one of your squeeze bottles with a cup of hot water. Simply scrunch the socks up and tie the rubber bands around them randomly just to make sure its all held together. Place rubber bands around the T-shirt to hold it in place.
Prepare your fabrics and work surface. Just make sure to squeeze the dye into the socks. Using different colours in different sections will give a multicoloured effect.
First prewash your fabrics with a laundry detergent to remove any dirt oils or substance that might. Throw in the washing machine by itself on cold water. Tie-dye techniques for beginners.
How to tie-dye diamond. Following our guides on how to clean lace and dye your sneakers were back with yet another step-by-step guide this time explaining how to tie-dye like a. Make sure nobody gets hurt.
Gently roll the socks around the straws. The most annoying part of tie-dye is how much waiting it entails. If youre looking for specific techniques check out our tutorials on splatter print dip-dye and shibori a Japanese way of tie-dye to produce more elaborate prints.
The tighter you bind it. Make one job into a lot of smaller tasks to keep them occupied. Then cover them completely in blue dye.
Wrap a rubber band around the end. Dont look for perfection. Apply dye to the scrunched up T-shirt.
Wrap a rubber band around the t-shirt a couple of centimetres from the pinched tip. Make sure the shirt is saturated all the way around. Pinch the middle of the t-shirt and hold it up.
Wrap several rubber bands around the disk.

How To Tie Dye Easy Techniques For Beginners Sarah Maker

How To Tie Dye T Shirts Step By Step Instructions On How To Tie Dye

How To Tie Dye Step By Step Easy Tie Dying For Beginners Treasurie

How To Tie Dye T Shirts Step By Step Instructions On How To Tie Dye

How To Tie Dye T Shirts Step By Step Instructions On How To Tie Dye

How To Tie Dye T Shirts Step By Step Instructions On How To Tie Dye

How To Tie Dye Step By Step Easy Tie Dying For Beginners Treasurie

How To Tie Dye Shirts With Kids Happiness Is Homemade
How To Tie Dye T Shirts 6 Easy Methods Diy Youtube


Comments
Post a Comment